Welcome! Velkomin! Wilkommen! Bienvenue!


Tuesday, March 27, 2012

IKEA makeovers and buttons...


I´m a really lucky lady... a wonderful friend read a post, where I told you how I love buttons and she sent me some beautiful buttons she had at home... ohhhh how I love them... thank you so much Kristín!!! Aren´t they pretty and perfect??

For a long time now, I've been a big fan of IKEA and IKEA-makeovers. I´ve done several IKEA-makeovers, but today I want to share with you my 3 favorite ones:

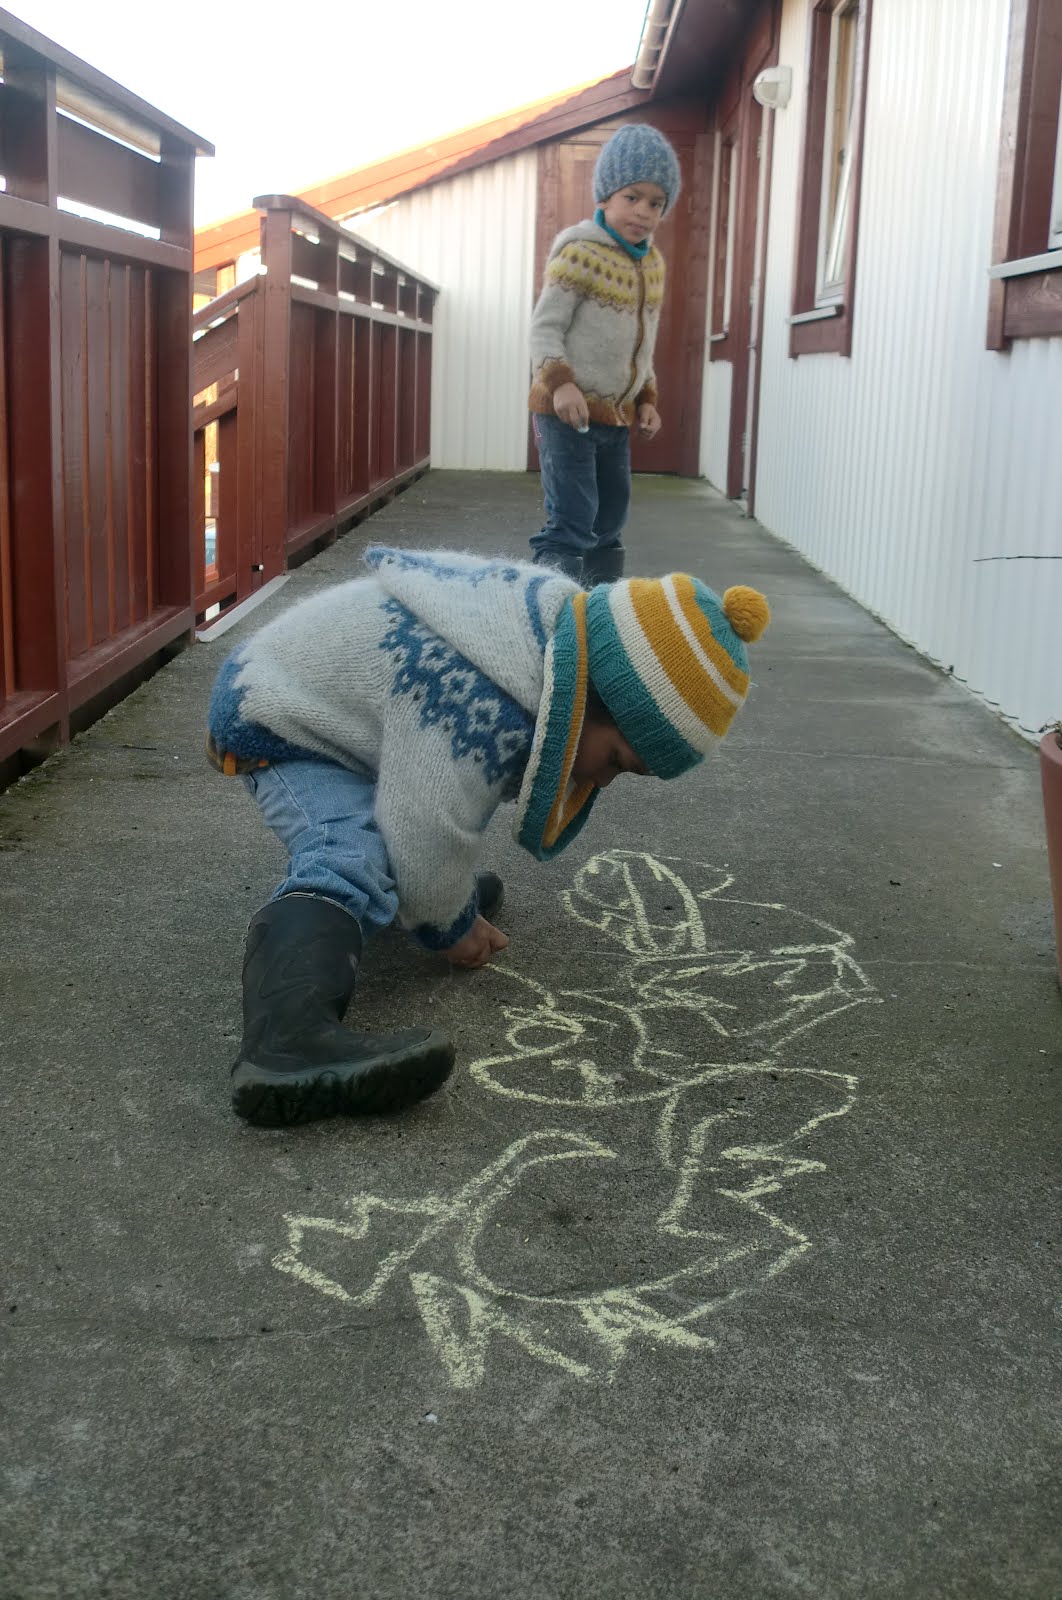
1. IKEA RAST-bedside-table turnes into a stove for my boys:
A few years ago, my boys had so much fun, playing around with children-stoves so I used my imagination and made them one myself. I used a bedside-table, a towel-rail, knobs, IKEA-fabric and some black paint to create this:

My boys still play with it, and love it! A friend of mine came with her tools, and we had SO MUCH FUN making it - much more fun than I would have had just buying a normal childrens-stove in the toystore :-) Imagination is a great thing!

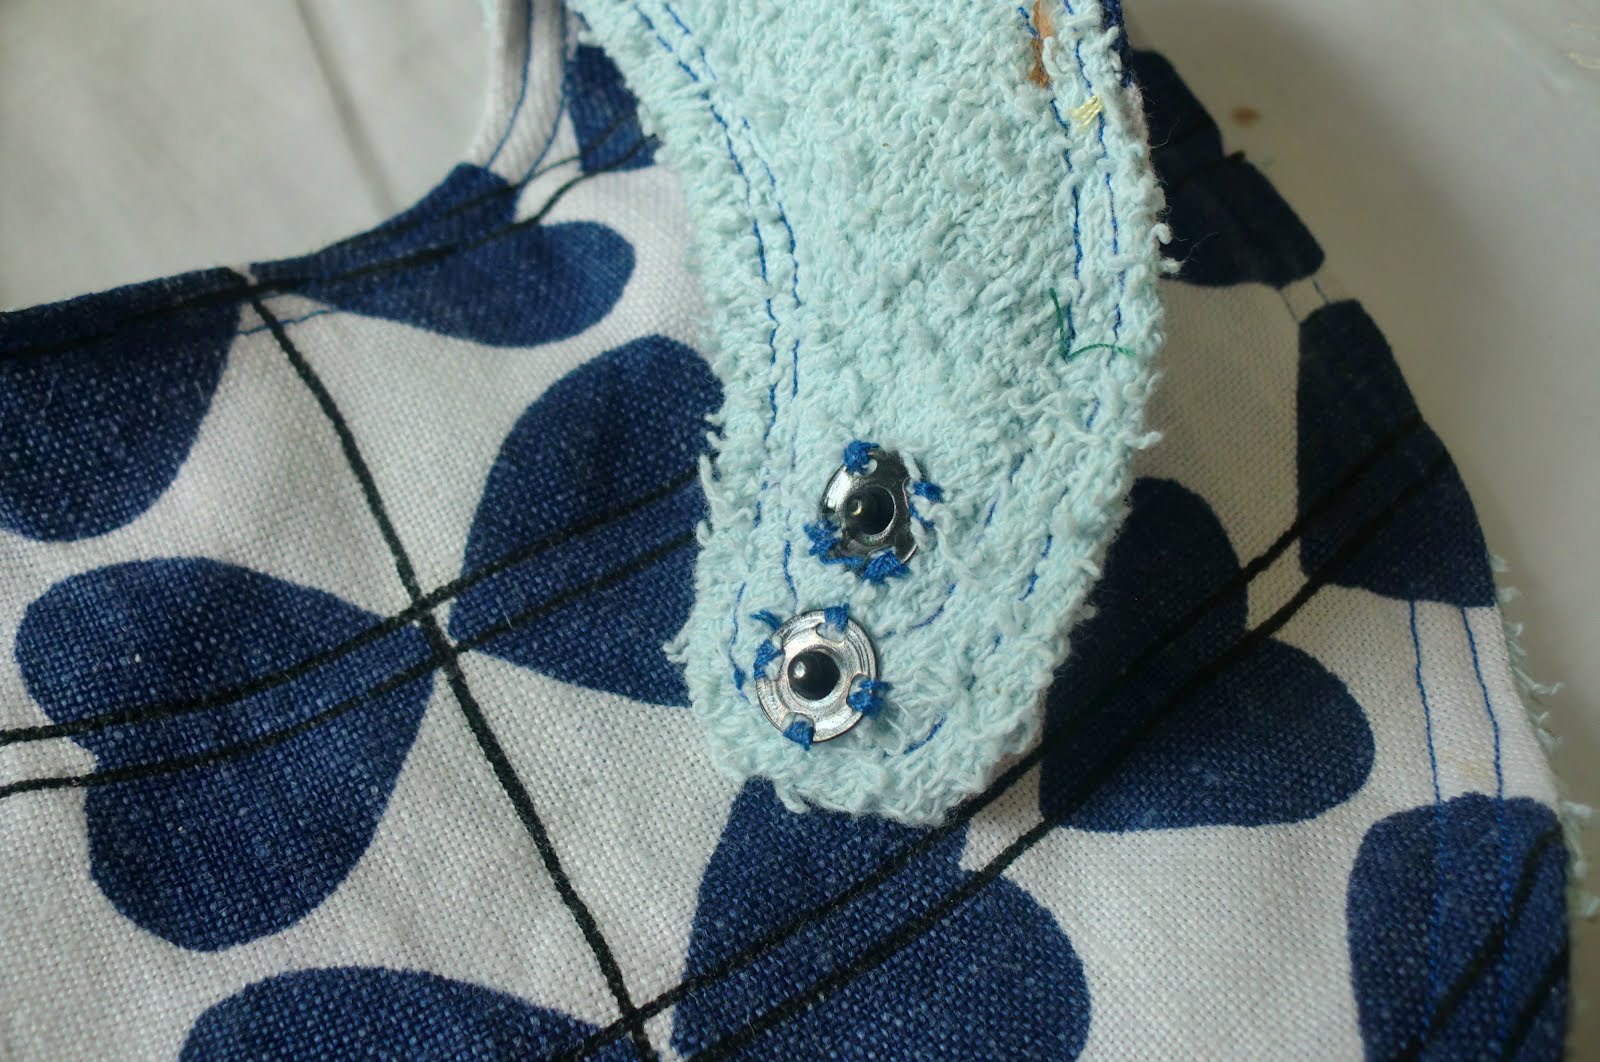
2. IKEA fabric turnes into one of my favorite dresses:
Remember how I told you the other day, that my mother was helping me making a dress-pattern, so I could sew a dress for myself? I knew exactly what I wanted: an A-line sixties-feel-good-dress. My genius-mother and textile-artist helped me to make a pattern (Link to her homepage)... she learned how to do this many years ago and I think she is able to make a pattern for almost anything you want to sew, if you just know what you want... like I said: genius. The first dress was a "test-drive" for the pattern, and we used a really pretty IKEA-fabric... this is how it turned out and I LOVE, love, love it:


3. IKEA fabric and a cork-memo-board:
The other day I got this really boring and ugly looking cork-memo-board. From the start, I knew I wanted to give it a little makeover, and this weekend I finally did! I used this really beautiful IKEA-fabric and my staple gun and made this:

Bidenam, my wonderful big boy, thought this was so pretty and genius and called it a "piece of art" :-) (eða: "listaverk") - I actually love it too now...
So very quick and easy! It took me about 5 minutes...

I wanted to show you, that spring has arrived in Iceland...
... at last!!!

Beautiful roses my husband gave me the other day - we´ve been together for 15 years know...

Monday, March 19, 2012

Sewing weekend: bibs and a laptop-sleeve

Note to self: on this picture of my boys, having fun with their chalk you can see, how the most simple things can make you happy, if you just notice them...


A strange thing happens, when I pick up my knitting-needles on weekends and start to knit: my boys and husband seem to need my help and attention for everything they do... with my sewing machine it´s a totaly different thing: when sewing, it´s almost as if I was home alone - strange, isn´t it?
But now you understand why I went crazy on my sewing machine this weekend...

I started by making some bibs (slefsmekkir) for a pretty little boy I´ll soon be visiting for the first time. You can never have too many bibs!! :-) I used a towel (úr Rúmfó), some pretty fabric-napkins, the remains of my husbands trousers I shortened and a green doily (yes, those bibs are made for a boy)... I used this great bib-tutorial by sew she sew´s. It has a great a free pattern and the bibs have the perfect size... I really love the way they turned out!

The second thing I made was a laptop-sleeve, for my sweet and tiny laptop. The outside fabric used to be a curtain (from a thrift-store), the lining is made out of a towel and remains of my own old trousers (pics are at the bottom of this post). I also used snaps (smellur úr Rúmfó) to close it...

Amazing how this...

... can turn into this:

this one, used to be trousers... (strákarnir kalla þennan: töffara-smekk)

the trousers-bib on the inside:

this one used to be a fabric-napkin:

X-napkin with a pretty doily that works for a boy too...

green doily-bib and the blue one on the inside (a towel):

2 snaps, for 2 sizes:

1 snap:

and this thing (what is it called??):

I also love how an old curtain, a towel and this...

can turn into this pretty thing... it´s almost like magic...

How I love this amazingly pretty, vintage, woven, mustard fabric! I really do! The best thing is, I still have 3 huge curtains like this one left to play with...
Together with my pretty curtains, I found this knitted beauty in the thriftstore for almost nothing... it´s white, it´s lace, it´s vintage, it´s handmade... it´s perfect!

Tuesday, March 13, 2012

Shawlette


Over a week ago I finally finished my Echo-flower-shawlette. Rodprjonar, Gummi and me did this one as a Knit-Along in our little Knit-Along-group of three... you can take a look at Rodprjonars shawl here.

This shawl really looks a lot more complicated than it really is, and if you aren´t knitting about 20 other things on the side like I did, it shouldn´t take too long. I really love the nupps, the flower-chart and the way the main-chart and edge-chart flow perfectly together. I wouldn´t be surprised if I made this one again one day...

Details:
yarn: einband, dyed with blueberries, I picked in the lavafields with my mum last fall
needles: 3,5 (I have a really loose gauge, when knitting lace)

and here you go:


Saturday, March 3, 2012

DIY: headband

I´m going to a big, chic party with my husband and really want something pretty for my hair...

So what I did and used was this:

The most important thing: a crochet-doily. I made this one other day, using this youtube-video: I really love this doily - and the video was really good and easy to follow:


The rest: hot glue, thick paper (I used a cerial-box), a black felt sheet (mine is from the store "Tiger") , a ribbon (mine is from "Twill"), and a headband/spöng.

What I did:
1. Cut a paper-circle, big as your doily or whatever you are using...


2. Cut a felt-circle, bigger than your paper-circle:


2. Hot-glue the overlapping felt to the paper - as you can see, it doesn´t have to look pretty or perfect at this point:


3. Hot-glue another felt-circle (a bit smaller) over the ugly side... and voila... looking pretty and clean again:

4. Wrap your ribbon around the headband/spöng, and make make dot´s of hot glue on the headband as you go, to make it stick:

5. hot glue the doily to the felt/paper-circle you just made before: (I put tiny dots of hot glue on the doily and then put it on the circle)

6.The final step: hot glue the circle to the headband...


I love, love, LOVE the result - my little one was the only model available but he was willing to pose with this girly thing for me:

from the inside:

From the front: